Per our usual activities here, we occasionally check out processes and software which would be relevant to the #mobmin (mobile ministry) world. A question for many groups is the process of making a mobile application, and so we definitely like to take a look at the various application creation platforms that are out there to get an idea of what’s needed in terms of graphical, technological, and marketing knowledge to get things up and running. The latest of these development platforms we are looking at is the biNu platform.
biNu is a software delivery platform. Think, something like an app store – but optimized for feature phones (non-smartphones). When there is an opportunity for an engagement to be accented with a mobile app on a (most likely) Java-based mobile, biNu is positioned through its delivery platform to refactor your RSS feeds or any other custom (mobile-lite) page content into a downloadable application for these mobiles.
We took a look at it from the perspective of a content owner who’s looking to gain a presence on feature phones (its a good idea to read Should Our Church Have an App or Mobile Website prior to this). Therefore, our most important places of entry happen through the biNu Dev portal (still in beta – this comes up again).
Note: the screenshots and activity here were performed on a Windows 7 laptop using the Google Chrome browser. For the benefit of the impression, this is an imposed boundary to using the product.
Step 1: Registering for at the biNU Developer Portal
As with similar services, you have to go through a short process to register for the biNU developer portal (http://developer.binu.com/). After filling out the form, you get a confirmation screen noting that you need to complete a step in your email in order to complete the process. Nice and simple in this respect.
Step 2: Navigating
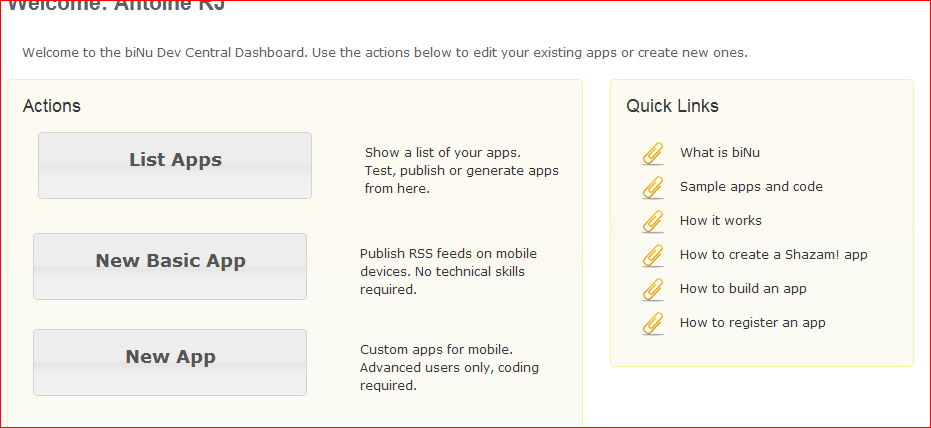
Once you login, you are presented a straight-forward list of what you’d want to do: List Apps (see all the apps you’ve built), or create a new Basic or regular app. First up on my listing was to do the Basic App (this would most likely be the used option for 1st time users of this service).
Step 3: The Basic App Wizard
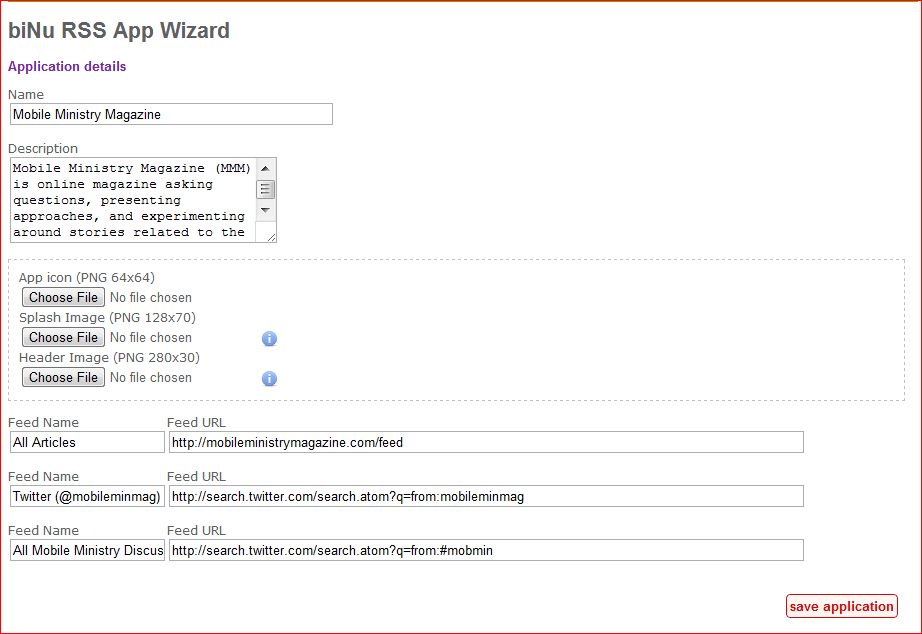
Once you get into the Basic App creation wizard, you simply just add the title and description to your app. You do need three graphic files here. Though the sizes were specified, I noticed in the test view that all of them seemed to be resized fine. I’d recommend here not using anything smaller than the recommendation, and you will need to ensure that its a PNG graphic w/o transparency for best effect.
You will also need the URL for the RSS feeds that you would use to populate the app. I took our raw feed, in addition to our Twitter feed and the Twitter feed for the #mobmin hashtag (we’ve done this previously with other apps) and there seemed to be no issue with either of those kinds of sources.
Step 4: Testing/Further Edits
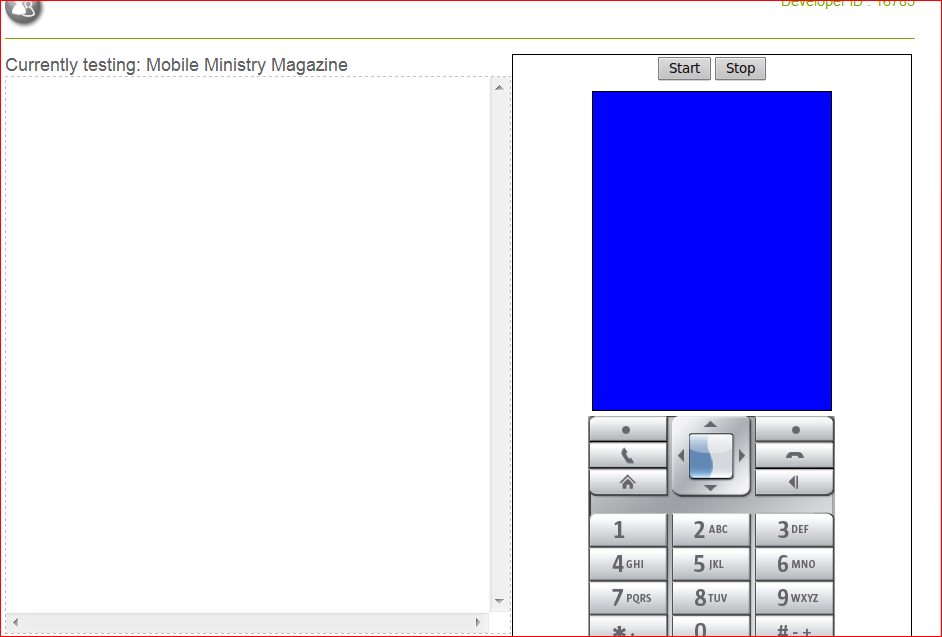
biNu offers a Java-based emulator that gives you an impression of how your content will flow to the smaller screen and different input controls of a feature phone. On the PC that I used, I didn’t update the Java client in order for this to work properly (but you would probably want to do this).
Step 5: Publishing
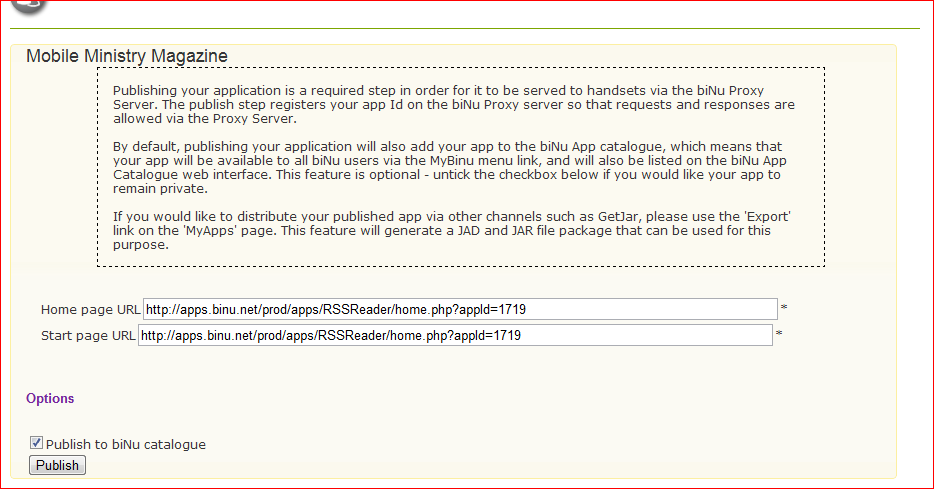
Once you have created and tested your app in the emulator, next is to publish it. There are two avenues for publishing – the first puts the app on the biNu platform “store” where those who’ve downloaded biNu would be able to search and download it among other similar apps/services. The second avenue is for you to generate the app yourself using biNU, and then use publish that app on your website or wider-serving app stores such as GetJar.
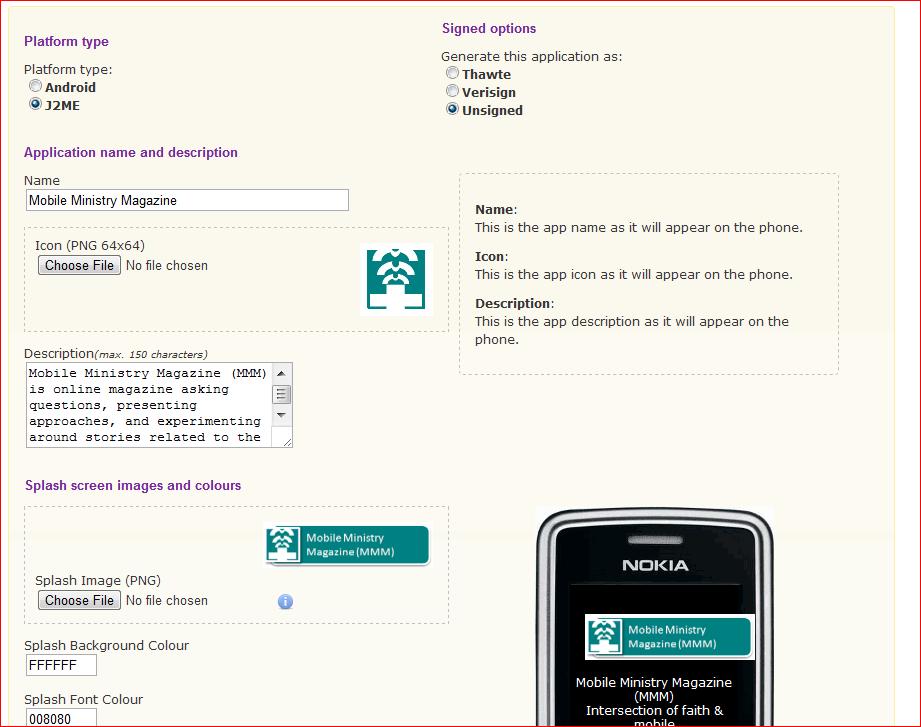
When you choose the option to generate an app, you are taken to a screen that’s similar to the app wizard where you refine the details about your app. What’s most interesting here is that you see the option to generate either a “regular” Java app (ideally, compatible with most Java mobiles) or an Android java app (an apk, compatible with Android devices). Apps can be unsigned or signed using Verisign or Thawte. Again, good options for an app which could be distributed in an open market environment.
Generating the app was the only point in the process where I entered an issue that I had to escalate to biNu directly. As of this writing, this is something being looked at.
Step 6: All Done, Go Build Some More
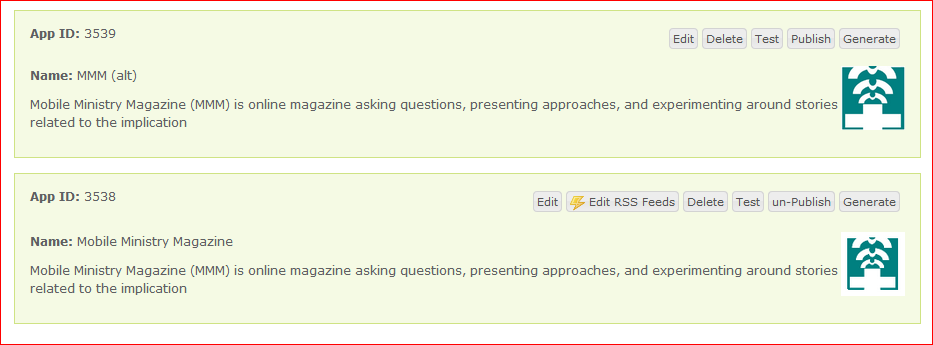
Once you’ve finished making your app (testing, publishing, and generating Java versions), you are pretty much done. As seen in the publishing step, you’ve been given a URL with which to publicize the app (I’d recommend using a URL shortening service like TinyURL or Bit.ly to make it smaller, more share-friendly, and easier to add to marketing materials). View/Download the 1st MMM biNu app.
Conclusions:
Overall, using the biNu app wizard enabled me to build an app in less than 30min. When I went back through the process to build an app from scratch (see Step 2: Navigating), the process took even less time because the source for the app was an existing mobile website (in this case, our alternate mobile site which is written using HTML5 and jQuery). Given the speed and costs (free) to just get on their platform, this isn’t a bad idea for many sites. I’d like to know how some of the more interactive content offerings would fare here – for example, those doing church online might want this for a presence, but the experience of viewing media on a 2.2in screen that’s not optimized for such “snack time” viewing might be a turn off in some respects. Still, there’s some sense that could be made from doing this and perhaps pointing to your YouTube feed of content.
For more information about biNU, do check out their website. Again, the developer section of the site is in beta right now, so if you enter into any issues with it, do chalk it up to that aspect of things. Still, there aren’t too many mobile services specifically targeting feature phones (more people use these than smartphones by a very wide margin). If your content is ready to go, then biNu should be ready for you.
